Cleaning your AR-15 is a crucial aspect of firearm maintenance that ensures its longevity, reliability, and accuracy. This comprehensive guide will walk you through the steps of how to clean an AR-15 efficiently and effectively. By incorporating the key phrase “clean AR 15” in each section, we aim to optimize this article for those seeking clear and concise instructions on maintaining their firearm. The AR-15 is a popular rifle for both enthusiasts and professionals due to its versatility and performance. Regular cleaning is essential to keep it functioning at its best. Whether you’re a seasoned shooter or a new AR-15 owner, understanding how to clean your AR-15 is fundamental.
Clean AR-15 to preparing
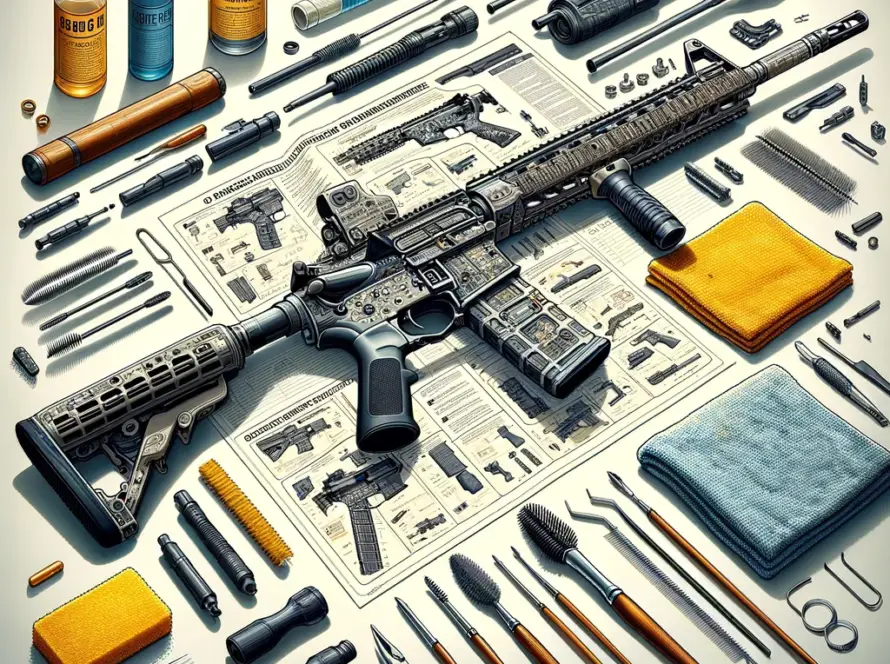
Before you start, ensure you have a clean, well-lit workspace and gather all the necessary cleaning supplies. You will need a cleaning kit specifically for an AR-15, which should include a cleaning rod, bore brush, chamber brush, utility brush, patches, solvent, and lubricant. Always check that your firearm is unloaded before beginning any cleaning procedure.
Disassembling Your AR-15 for Cleaning
- Remove the magazine and ensure the chamber is empty.
- Separate the upper receiver from the lower receiver by pushing out the take-down and pivot pins.
- Remove the bolt carrier group (BCG) and charging handle from the upper receiver.
- Disassemble the BCG into its component parts: the bolt, carrier, gas key, firing pin, cam pin, and retaining pin.
Cleaning the Barrel: Key to Clean AR-15
The barrel is critical to your AR-15’s performance. Use a bore brush attached to a cleaning rod to apply solvent inside the barrel. Pass the brush through the barrel several times, then switch to a patch holder and run solvent-soaked patches through the barrel until they come out clean. Finish by running a dry patch to remove any remaining solvent.
Clean AR-15 Bolt Carrier Group

The BCG is the heart of your AR-15 and requires thorough cleaning. Apply solvent to the bolt, carrier, and other components. Use a utility brush to scrub each part, focusing on areas with carbon buildup. Wipe each part clean with a rag, and apply a thin layer of lubricant before reassembling the BCG.
Lubricating Your AR-15 for Smooth Operation
Lubrication is vital for preventing wear and ensuring the smooth operation of your AR-15. Apply a high-quality firearm lubricant to moving parts, including the BCG, charging handle, and pivot points within the lower receiver. Avoid over-lubricating, as excess lubricant can attract dirt and debris.
Cleaning AR-15:Reassembling and Function Testing
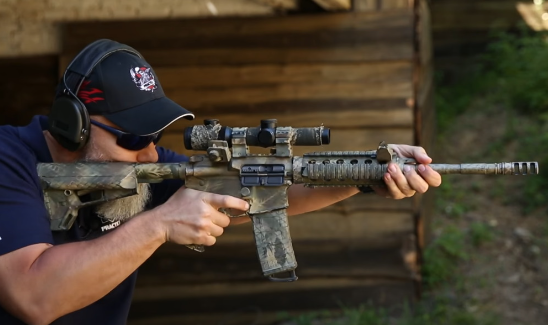
Once all parts are clean and lubricated, reassemble your AR-15 in the reverse order of disassembly. Ensure each component fits correctly and securely. Perform a function test to ensure the safety and trigger mechanisms are working correctly. This step is crucial to verify your AR-15 is safe to operate.
Clean AR-15: Conclusion on Importance of Regular Maintenance
Regular cleaning and maintenance of your AR-15 are essential for preserving its functionality and safety. A clean AR-15 will perform reliably when you need it most, whether at the range or in a professional setting. Incorporate cleaning into your routine to ensure your AR-15 remains in top condition.
By following this guide, you’ll ensure your AR-15 is clean, lubricated, and ready for action. Remember, the key to a well-maintained firearm is regular and thorough cleaning. Keep your AR-15 in peak condition, and it will serve you well for years to come.


Revolutionize your rifle maintenance with our top-tier 21-in-1 MOLFAR TOOL!
Unleash unmatched cleaning precision.
Get yours now! 🛠 https://molfar.tools/ 🔫